Basement Half Wall Ledge Decorating Ideas
One of the more challenging design decisions I had to make when finishing the basement was what to do with the ledge that was created where the concrete foundation met the framed wall. I also don't really know what these things are called. Is it a knee wall? A pony wall? A half wall? It is a daylight wall… Yeah, I'm going with ledge… I also wanted a cozy country farmhouse vibe and decided that I wanted a stained wood ledge that was thick and durable. I decided the way to go was to build a DIY finished basement ledge myself.
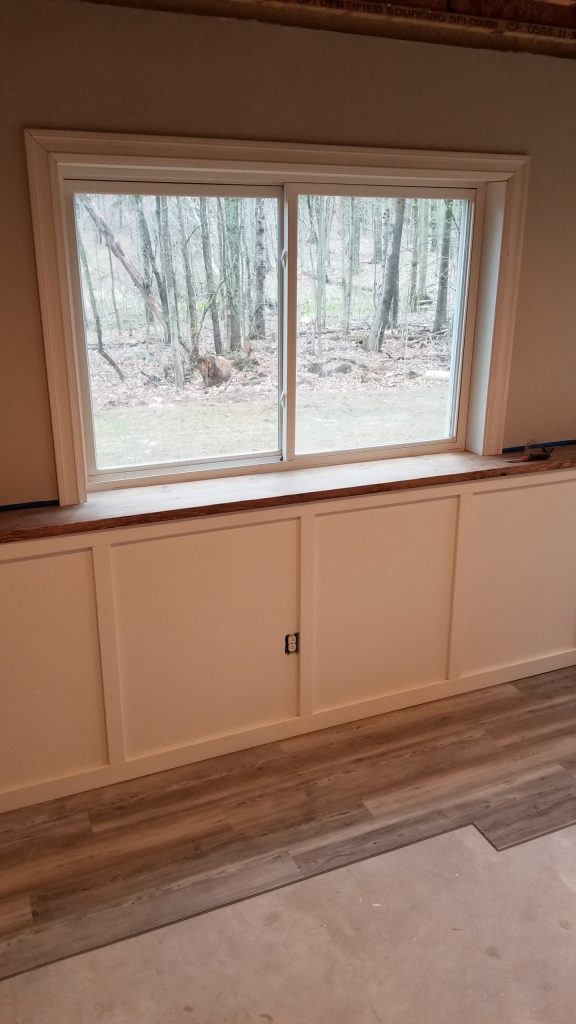
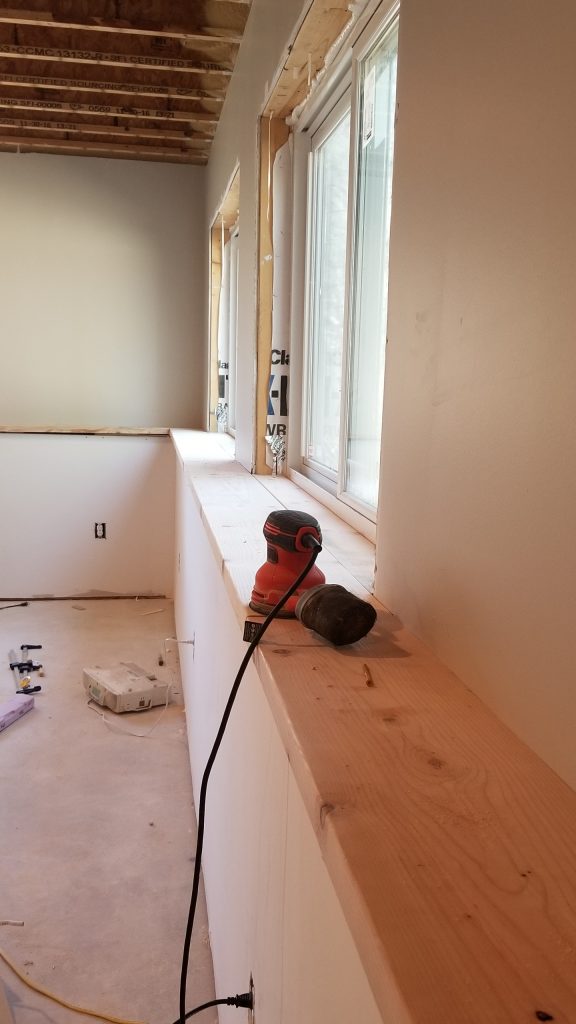
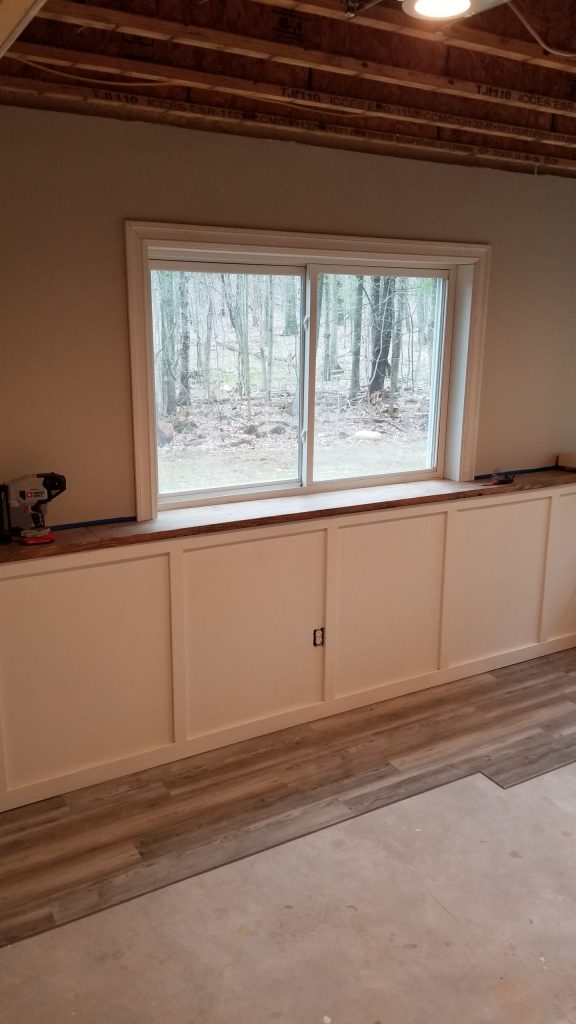
When I took this photo the floor wasn't finished, but this is where I landed with the concrete ledge:
The first thing I had to do was make sure that all of the components that came together around the concrete were taken care of properly and they were all flat. There were shims from installing the windows, rigid foam insulation, waterproofing, and framing materials all meeting at this one point. Making sure these things were all level wasn't too difficult, but took some planning.
First, I had to cut the shims out of the way.
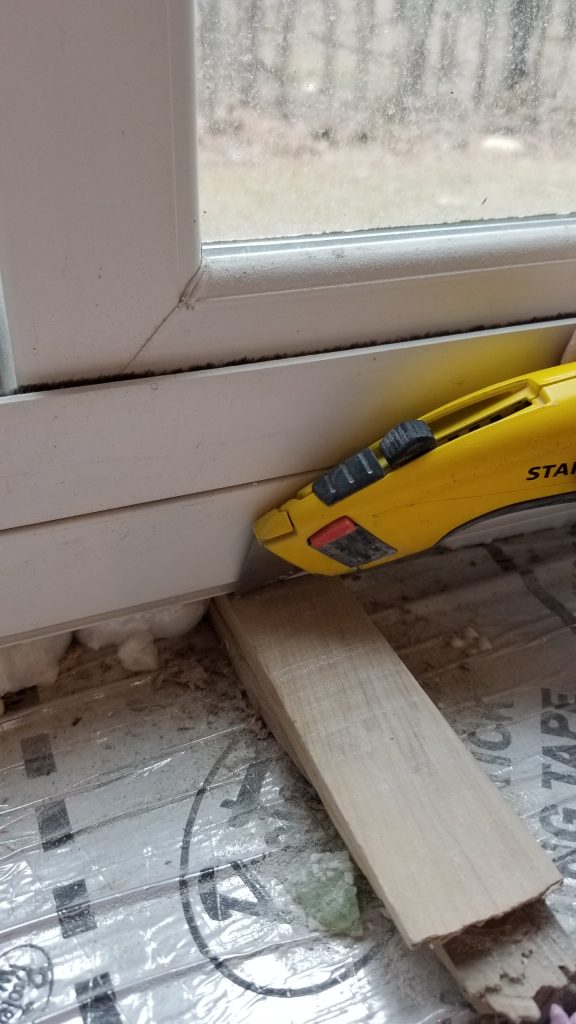
Next I filled in all of the gaps with expanding foam and filled in any large spaces with scraps of rigid foam.
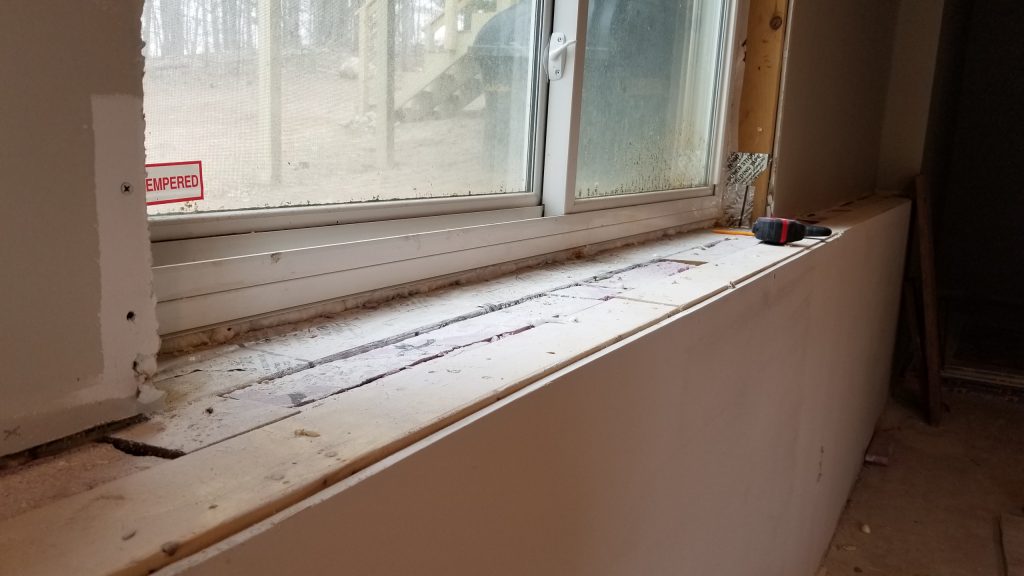
After the ledge was prepped, I came up with my plan. My overall idea was to rip a board to fit in the space just below the window, acting as the window sill. I then needed to rip another board to come out from the wall and overhang the ledge. For the window sill piece I used a 2×6, ripped down to about 5 1/4-inches and for the piece that protruded out over the drywall, I used a 2×10 cut down to about 8 3/4-inches. Your measurements could be different based on how you have framed your walls, the insulation you've used, and what materials you choose to finish the walls beneath the ledge with. In my case, I wanted to do some decorative trim or wainscoting on the half wall below, so I let my ledge hang over about 2 inches.
I don't have a table saw for ripping boards. One of these gadgets called a rip fence worked out super nicely, and it was relatively inexpensive.
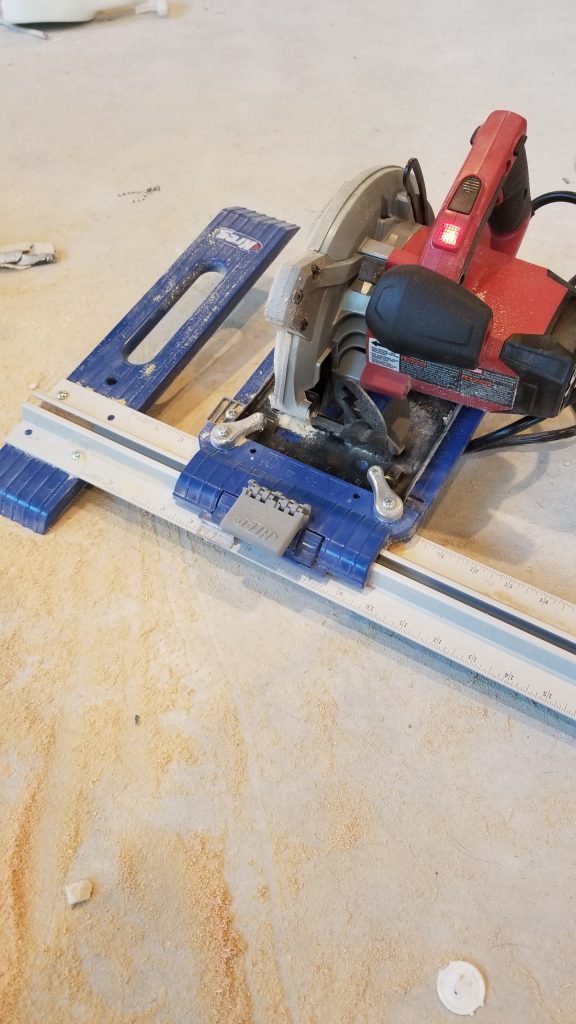
After I had the window sill boards ripped to the right width, I cut it to length so it fit nicely under the window. Next, I assembled the second ripped board (that will overhang the edge) so the ripped edges of both boards are touching. They come together almost like one board and in the end, it looked smooth.
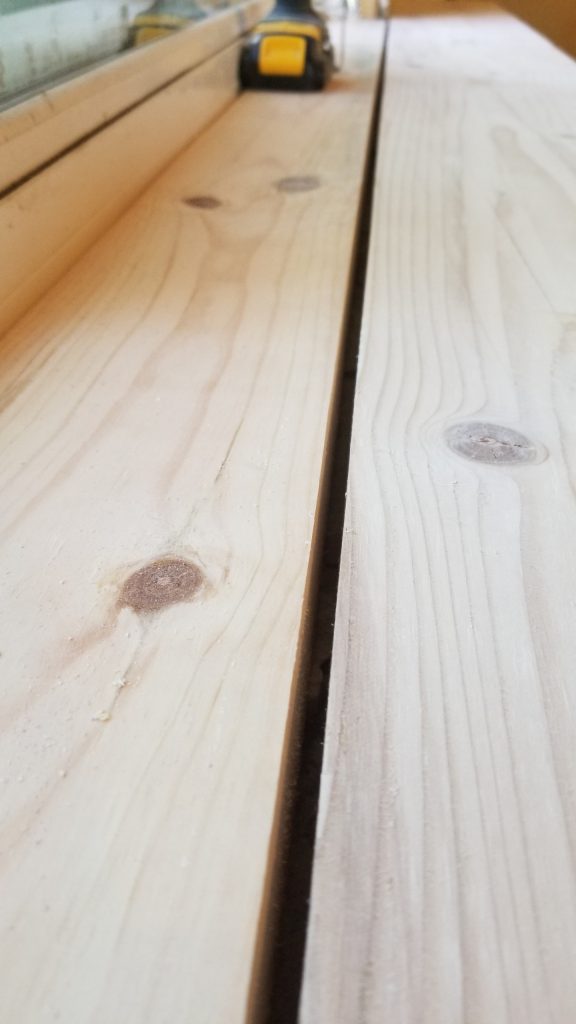
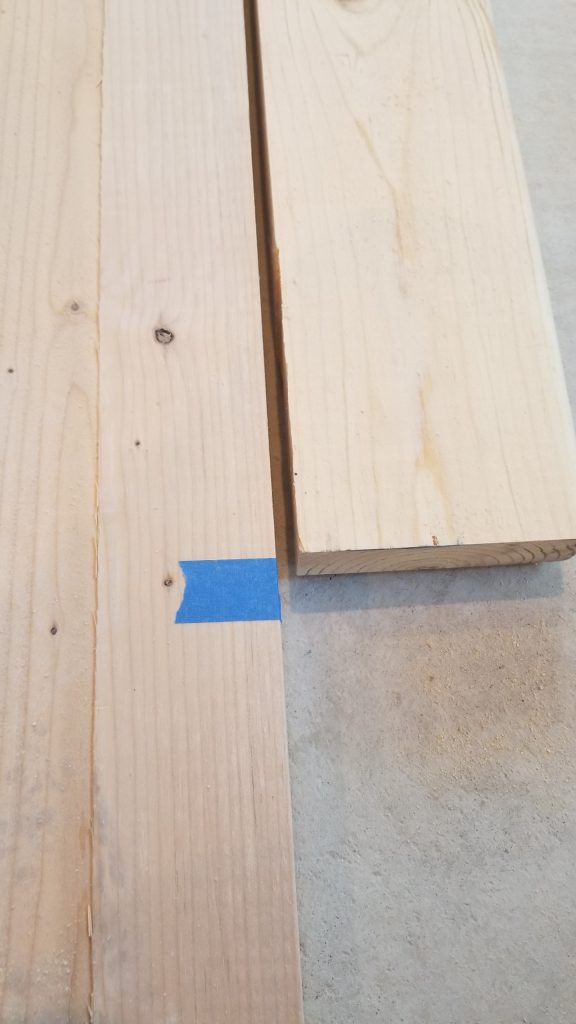
Next, I used painters tape to mark where the boards were touching and put them on the floor so I could glue them together.
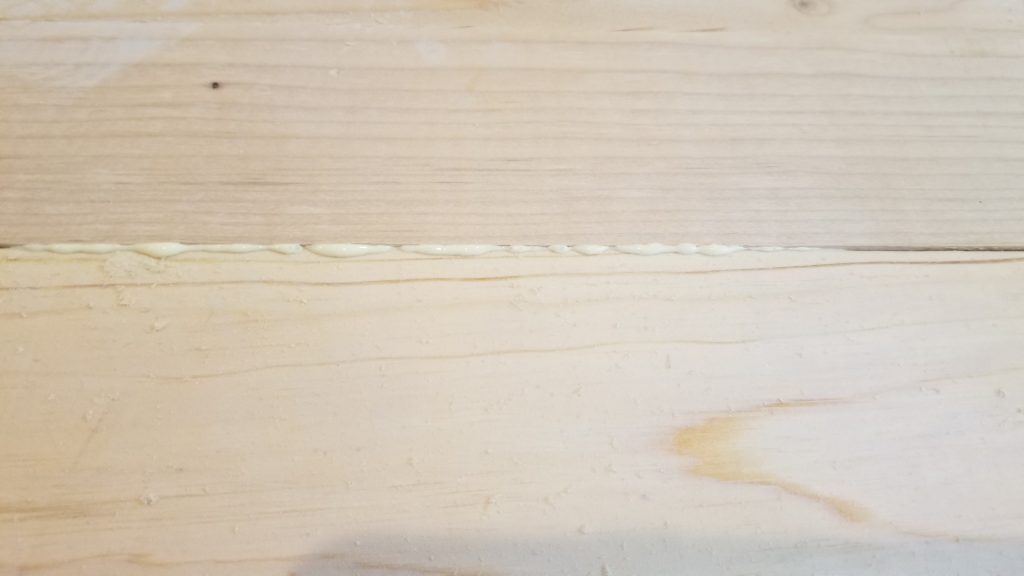
I used large clamps and tightened them until the glue started to squeeze out. I let them sit for a few hours to dry. Make sure you wipe the excess away with a wet paper towel or you'll be mad at yourself later.
After the boards are married together, it was time to place them up on the ledge where they can live happily ever after.
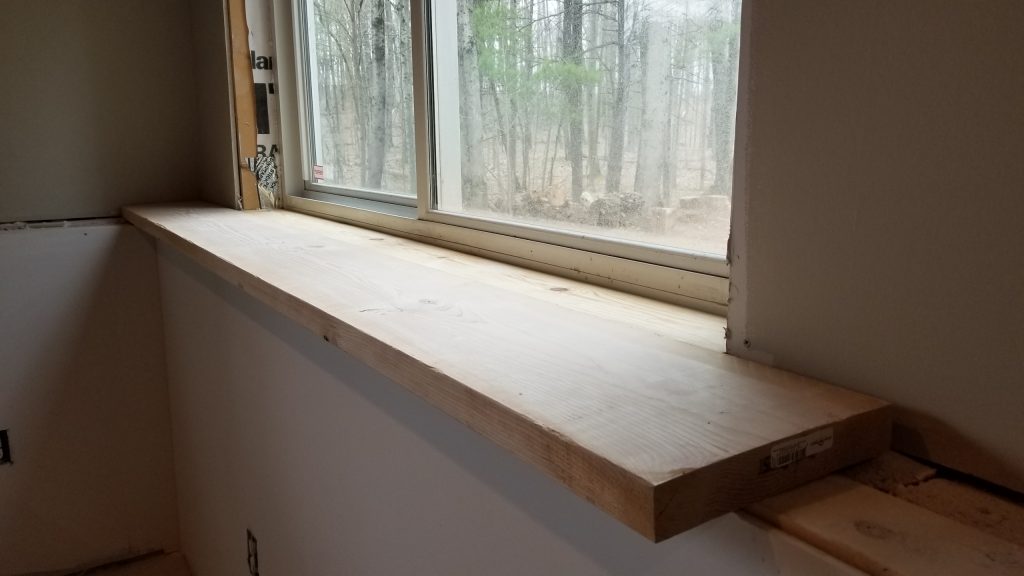
I had to repeat this process three more times because I have multiple windows and the ledge goes almost all the way around the livable space in my basement.
If you have a larger area to cover, you will have to determine how you want the boards along the ledge to come together. You can angle cut each piece and glue together or join them with a butt joint. I would recommend angle cutting each piece so the transition comes out smoother. I didn't do it that way and I wish I did. Any warp in the boards is going to guarantee extra time with the orbital sander.
You can see where mine come together in the photo below. I spent a lot of time getting that bump out. Like, a lot of time I'll never get back.
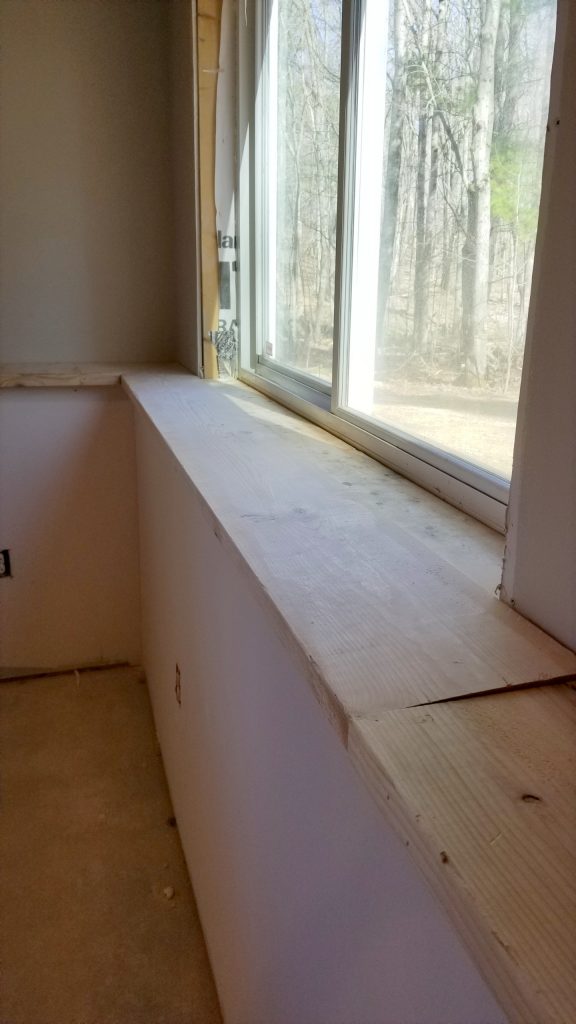
Whichever way you decide to assemble your boards along the edge, it's important that you get them level. I used a mini level and a 4ft level to check both directions. Use long shims underneath to correct areas that are too low.
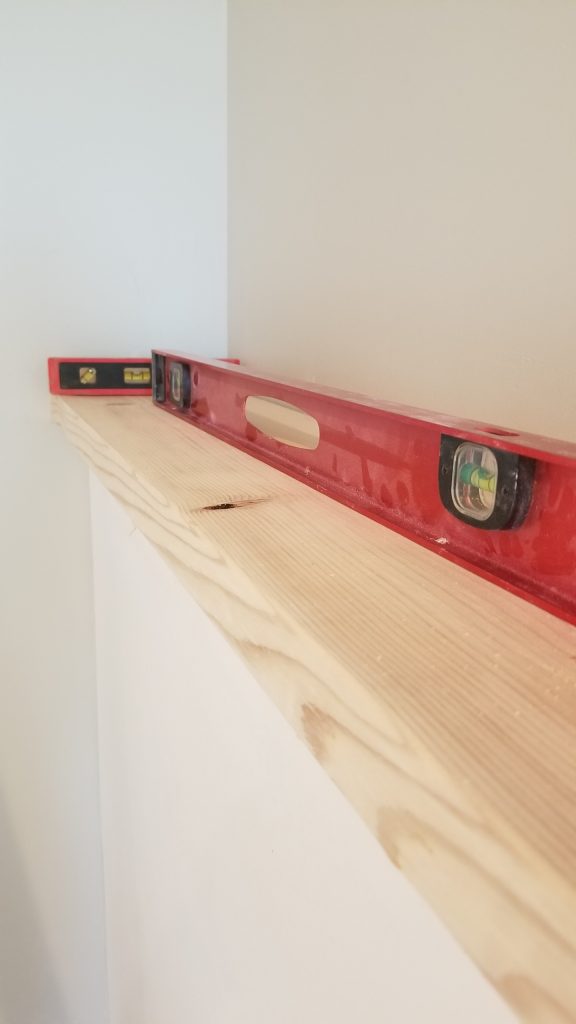
My basement has one inside corner, and I just chose to cut that at a 45-degree angle.
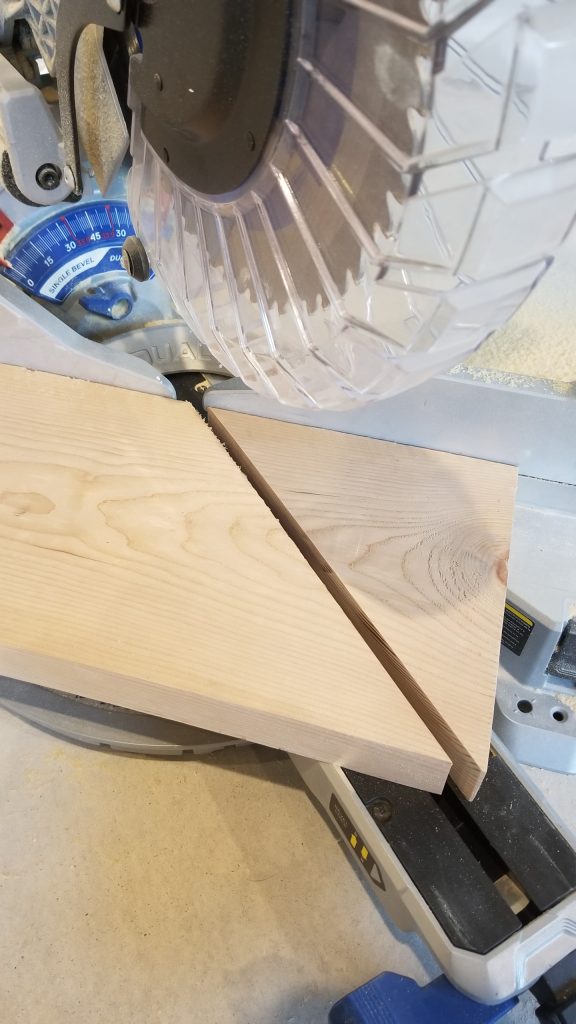
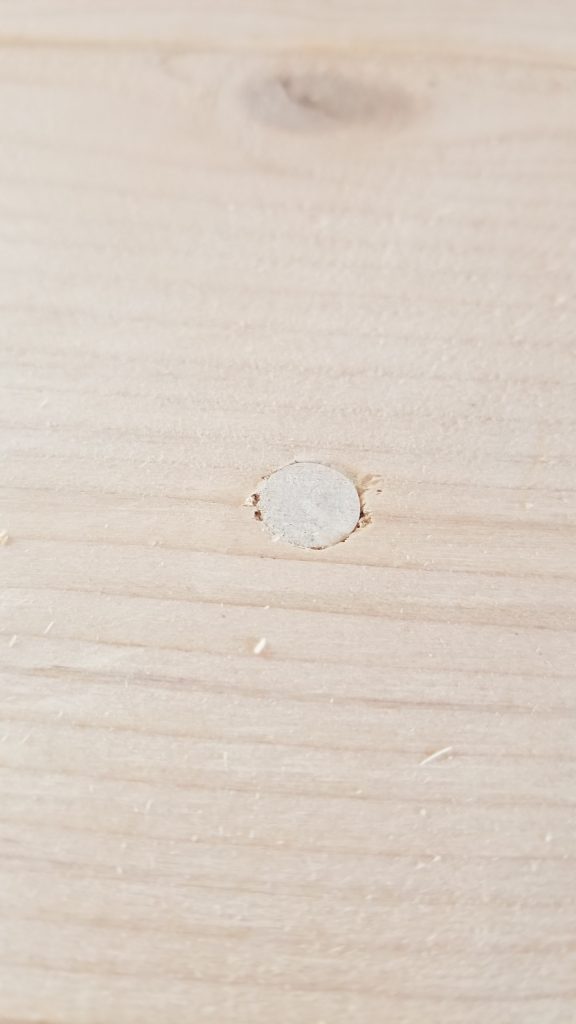
Once all of your boards fit together, it's time to secure them in place. I drilled 5/8-inch holes for my screws to fit in so I could hide them later. You can buy dowel rods that are the same thickness as your drill bits and cut them to make wood plugs that cover your screws.
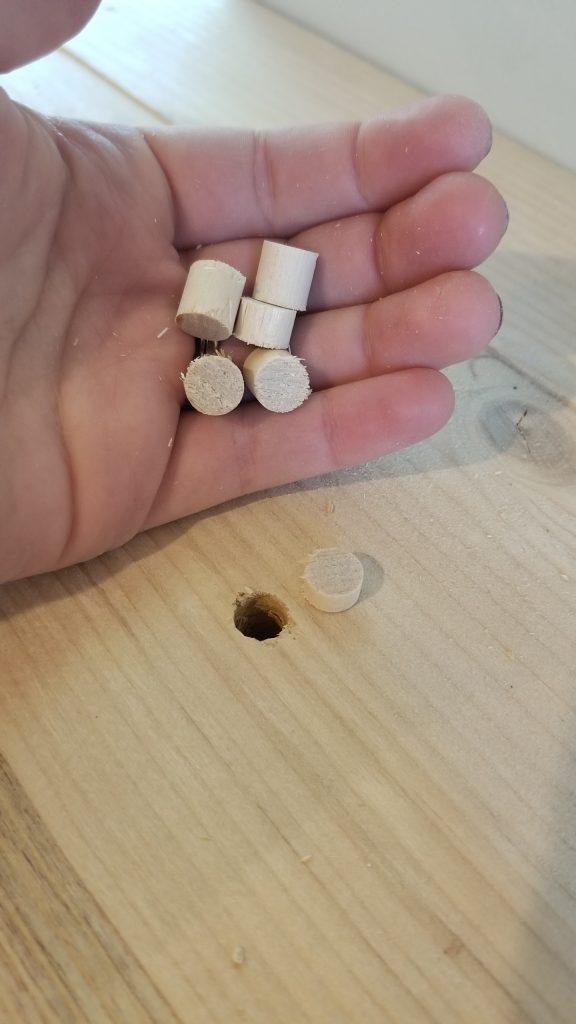
After you have your boards securely attached, place the dowel plug into the hole over the screw and gently tap it till it's flush with a hammer or mallet.
Next thing to do is fill all of the cracks and joints with wood filler. Unfortunately I didn't take a picture of this step, but all you need to do is buy a tube of the stain-able wood filler and press it into the joints. After that, you need to sand everything until it's smooth. I started with 60 grit, working out all of the lumps and bumps, and moved up to 150 and 220.
After that, I taped the walls and stained with my favorite stain – Minwax Special Walnut.
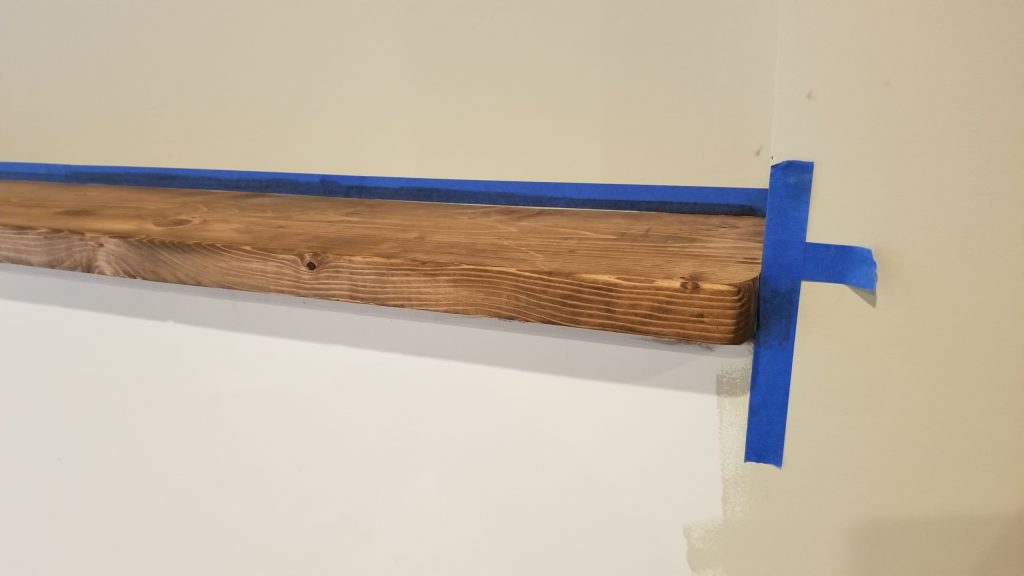
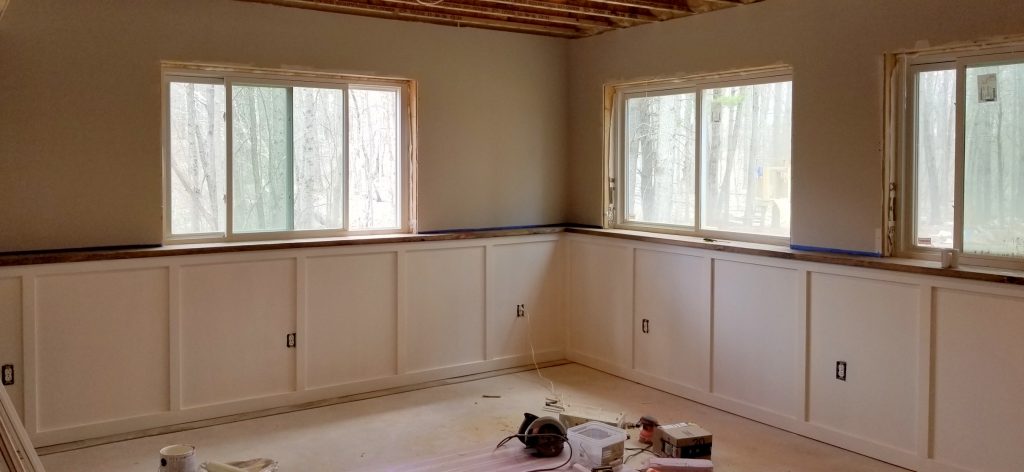
After the stain was dry, I went over it with 220 sand paper again and applied two coats of polyurethane to seal it. I am really happy with the way it turned out. I painted the walls with SW Agreeable Gray and later added white wainscoting. The walnut color of the ledge added a great contrast and I saved a bunch of money doing it myself!

Basement Half Wall Ledge Decorating Ideas
Source: http://www.thehomemadeabode.com/2019/09/12/diy-finished-basement-ledge/
Posted by: spencerwherser.blogspot.com

0 Response to "Basement Half Wall Ledge Decorating Ideas"
Post a Comment